

Hey there! As a steel railing supplier, I've seen all sorts of situations where folks need to adjust the height of their steel railings. Whether it's for safety reasons, to meet local building codes, or just to fit a specific design aesthetic, adjusting the height of steel railing can be a bit of a challenge. But don't worry, I'm here to walk you through the process step by step.
Why Adjust the Height of Steel Railing?
First off, let's talk about why you might need to adjust the height of your steel railing. One of the most common reasons is safety. Building codes often specify a minimum height for railings, especially in areas where there's a risk of falling, like stairs, balconies, or decks. If your railing is too short, it might not provide adequate protection, so you'll need to increase its height to meet the code requirements.
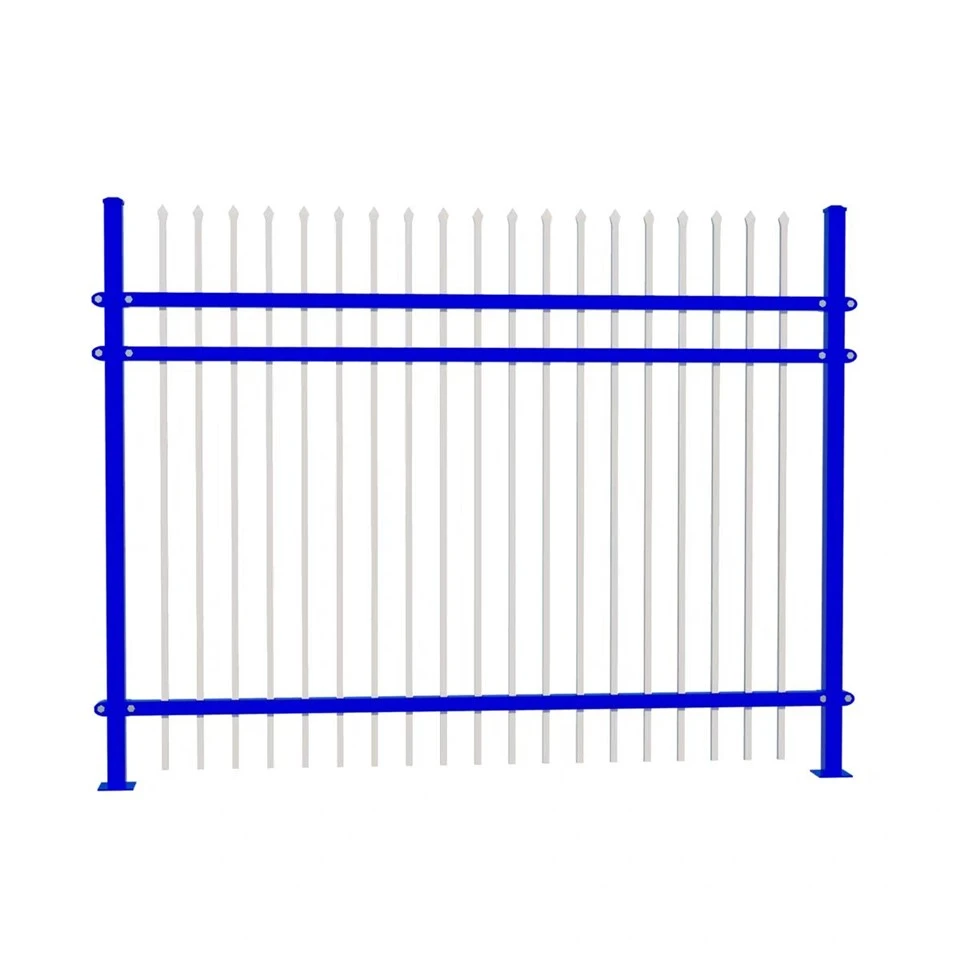

Another reason could be for design purposes. Maybe you've decided to change the layout of your space or update the look of your property, and you want the railing to fit in better with the new design. Adjusting the height can help you achieve the desired aesthetic and make your space look more cohesive.
Tools and Materials You'll Need
Before you start adjusting the height of your steel railing, you'll need to gather a few tools and materials. Here's a list of what you'll typically need:
- Measuring tape: To measure the current height of the railing and determine how much you need to adjust it.
- Welding equipment: If you're going to be adding or removing sections of the railing, you'll need a welder to make the necessary connections. Make sure you have the right type of welding equipment for the job and that you know how to use it safely.
- Cutting tools: Such as a hacksaw or a power saw, to cut the steel railing to the desired length.
- Drill and drill bits: To make holes for attaching new sections of the railing or for installing brackets.
- Safety gear: This includes safety glasses, gloves, and a welding mask to protect yourself from sparks, debris, and fumes.
Step-by-Step Guide to Adjusting the Height of Steel Railing
Now that you have all the tools and materials you need, let's get started with the actual process of adjusting the height of your steel railing.
Step 1: Measure the Current Height
The first step is to measure the current height of the railing. Use a measuring tape to measure from the top of the railing to the surface it's attached to. Make sure you measure at several points along the railing to get an accurate average. Write down the measurements so you can refer to them later.
Step 2: Determine the New Height
Once you have the current height measurements, you need to determine the new height you want the railing to be. This will depend on the reason for the adjustment. If you're adjusting the height to meet building codes, check the local regulations to find out the minimum height requirement. If it's for design purposes, decide on the height that will best fit your space and aesthetic.
Step 3: Cut the Railing
If you need to lower the height of the railing, you'll need to cut off the excess length. Use a cutting tool, such as a hacksaw or a power saw, to make the cut. Make sure you cut the railing at a straight angle and that you leave enough length for the new connection. If you're using a power saw, be careful to follow the manufacturer's instructions and wear appropriate safety gear.
If you need to increase the height of the railing, you'll need to add a new section. Measure the length of the section you need to add and cut it to size using the same cutting tool.
Step 4: Prepare the New Section
If you're adding a new section to the railing, you need to prepare it for the connection. This may involve cleaning the ends of the railing and the new section to remove any dirt, rust, or debris. You may also need to bevel the edges of the new section to make it easier to weld.
Step 5: Weld the New Section
Once the new section is prepared, it's time to weld it to the existing railing. Use a welding machine to make the connection. Make sure you follow the proper welding techniques and safety procedures. If you're not experienced with welding, it's a good idea to have someone who is help you with this step.
Step 6: Attach the Railing
After the new section is welded to the existing railing, you need to attach the railing to the surface it's supposed to be on. This may involve using brackets, bolts, or other fasteners. Make sure the railing is securely attached and that it's level.
Step 7: Finish the Railing
Once the railing is attached, you may need to finish it to protect it from rust and corrosion. This can be done by painting the railing or applying a protective coating. Make sure you choose a finish that is suitable for outdoor use and that it matches the color and style of your space.
Tips and Tricks
Here are a few tips and tricks to keep in mind when adjusting the height of your steel railing:
- Plan ahead: Before you start cutting or welding, make sure you have a clear plan of what you're going to do. This will help you avoid making mistakes and ensure that the final result is what you want.
- Use the right tools: Make sure you use the right tools for the job. Using the wrong tools can make the process more difficult and may even damage the railing.
- Take your time: Adjusting the height of a steel railing is not a quick process. Take your time and make sure you do each step carefully. This will help you get a better result and avoid any safety issues.
- Check the local regulations: Before you start any work on your railing, make sure you check the local building codes and regulations. This will help you avoid any legal issues and ensure that your railing is safe and compliant.
Our Steel Railing Products
At our company, we offer a wide range of steel railing products to meet your needs. Whether you're looking for Black Metal Handrails for Outdoor Steps, Modern Wire Railing, or Galvanized Cable Railing, we've got you covered. Our railings are made from high-quality steel and are designed to be durable, safe, and stylish.
If you're interested in learning more about our products or if you need help adjusting the height of your steel railing, don't hesitate to contact us. We're here to help you find the perfect solution for your space.
Conclusion
Adjusting the height of a steel railing can be a bit of a challenge, but with the right tools, materials, and knowledge, it's definitely doable. By following the steps outlined in this blog post and using the tips and tricks provided, you should be able to adjust the height of your steel railing safely and effectively.
If you have any questions or need further assistance, feel free to reach out to us. We're always happy to help. And if you're in the market for a new steel railing, be sure to check out our Black Metal Handrails for Outdoor Steps, Modern Wire Railing, and Galvanized Cable Railing products. We look forward to hearing from you and helping you with your railing needs.
References
- "Steel Railing Installation Guide," DIY Home Improvement Magazine, 2023.
- "Building Codes for Railings," Local Building Department Handbook, 2023.